


As I mentioned in this post, I am new to screen printing so I started off by purchasing a kit. Because I want to print on fabric I decided to go with the Speedball Fabric Screen Printing Kit. This kit is awesome, it includes everything you would need to get started. If you live in Victoria I recommend buying it from Opus not only because we want to support local but because Michael's is charging almost 40 dollars more for the same kit!

{ Step 1: Wash your Screen }
The very first thing you want to do with a brand new screen is wash it with a little dishwasher detergent and warm water, this will remove any film or residue that you can't see and leave the screen squeeky clean. Let the screen dry completely before moving on to Step 2.
{ Step 2: Tape your Screen }
Next you'll want to tape your screen with water resistant tape. This red tape (which I purchased at Opus) is something that did not come in the kit and let me tell you, I learned the hard way that masking tape is no substitute so I highly recommend buying the real deal.


(Tape both sides of your screen. If you didn't allow your screen to completely dry after Step 1 then your tape won't stick properly... most annoying.)
{ Step 3: Fill your Screen }
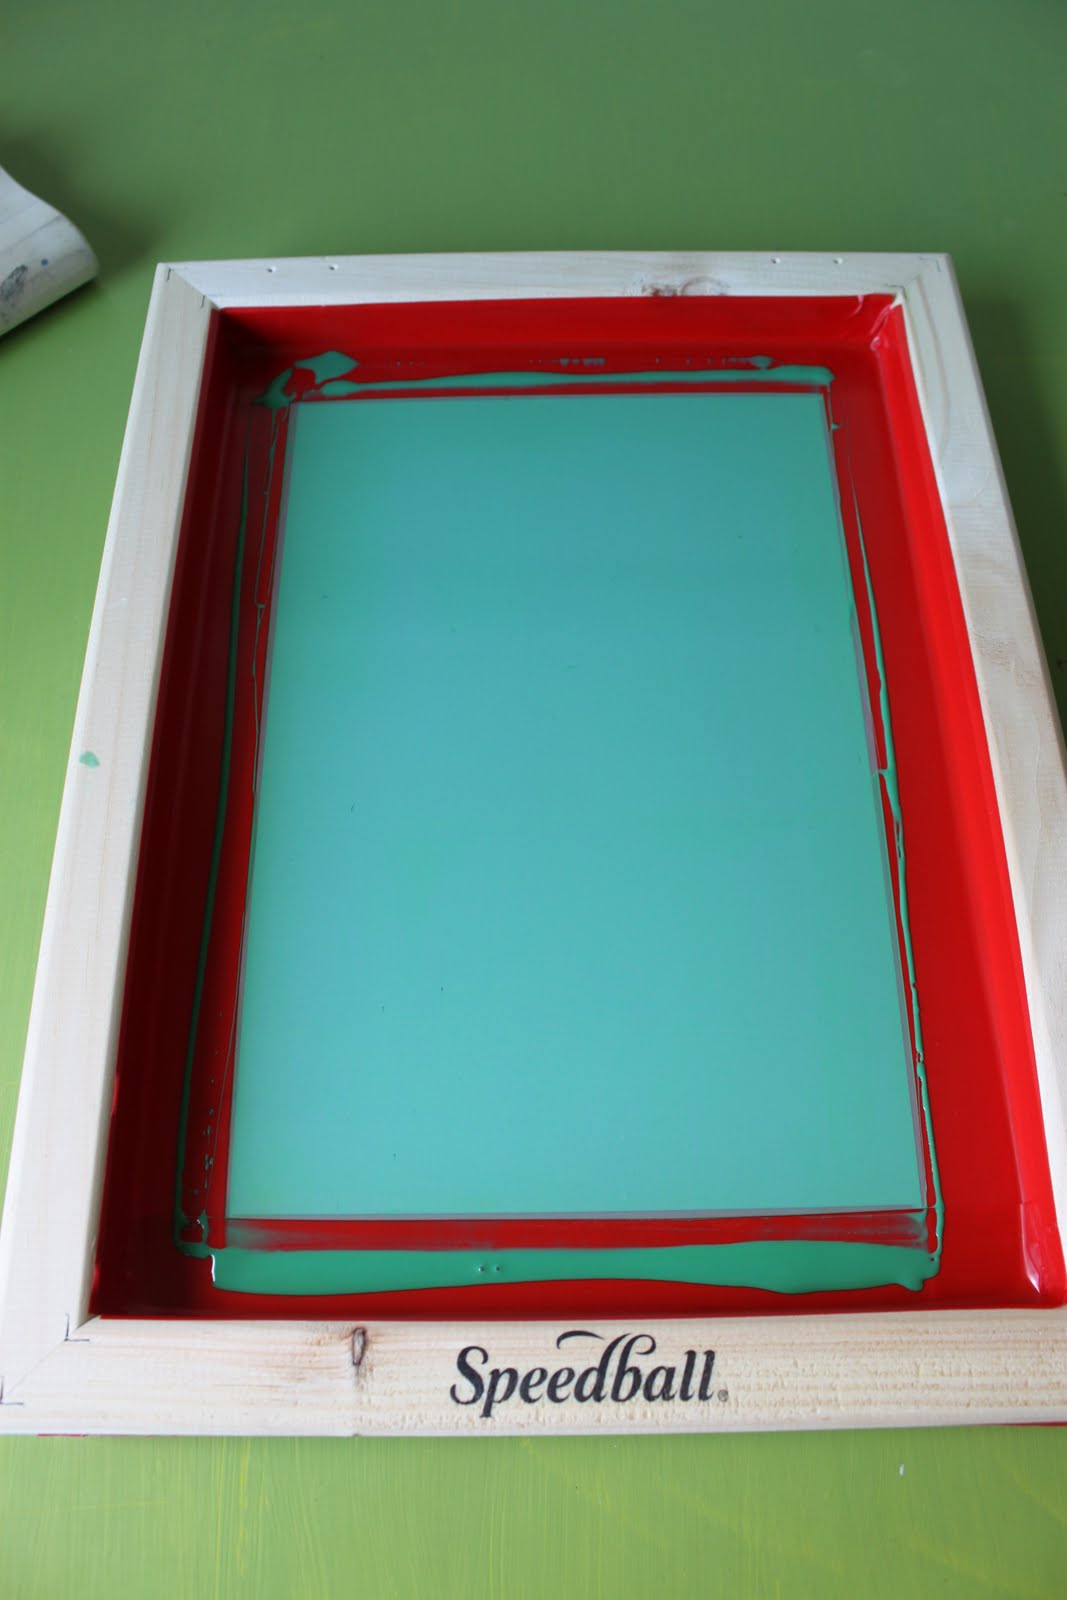
A screen is made of a fine mesh. To print an image onto a surface you need to turn your screen into a stencil of sorts by filling all of the holes around your image. There are so many ways of doing this and the Speedball kit I purchased includes materials for a number of different methods. In this demonstration I have chosen to "burn" the image onto my screen, this is a lot like developing a photo in a dark room. So for our next step we are going to fill our screen with Photo Emulsion fluid.

...place push pins in all four corners of the bottom side of the screen. Use your squeegee to coat the bottom side of the screen with a thin, even layer of the fluid.
...flip the screen over and do the same on the inside of the screen.
Wipe up any excess fluid around the edges, this can be scooped up and returned to it's original container for future use. Place the screen to dry, bottom side down (elevated by the pushpins), in a location away from heat and light. My screen is tucked away in the closet of my office.
...now we wait.
I did always want to learn this! I'm curious to hear the next steps!
ReplyDelete